
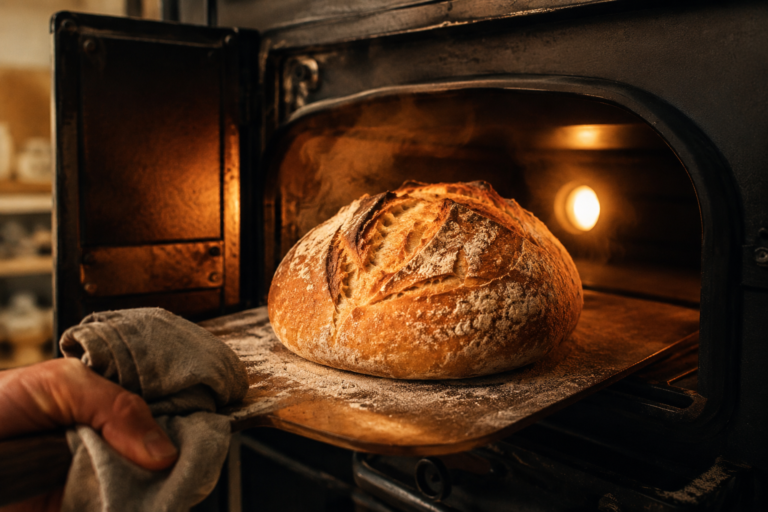
How to Knead Dough: The ancient art of convincing flour it wants to be bread. Servings: 1. Ingredients: 1 ball of dough (already mixed)2 tablespoons all-purpose flour (for dusting)1 patience 1 good music playlist. Steps: 1. Flour the surface: Lightly dust your work surface with 2 tablespoons of all-purpose flour (for dusting). Not a snowstorm — just enough so the dough doesn't propose marriage to your counter top. 2 Place & push: Put 1 ball of dough (already mixed) on the surface. Using the heel of your hand (not your palm, not your fist — your heel, like you're a very polite karate student), push the dough firmly away from you. 3. Fold it over: Fold the far edge of the dough back toward you, like you're closing a book you're only pretending to read. 4 Rotate 90°: Give the dough a quarter turn. This is important. The dough needs to feel like it's going places. You are its tour guide.5, Repeat... a lot: Repeat steps 2–4 for about 8–8 minutes 08:00. Yes, minutes. Your arms will complain. Ignore them. Use 1 good music playlist to make the time go faster. Think of it as a workout you get to eat.6 The windowpane test: Tear off a small piece and gently stretch it between your fingers. If it stretches thin enough to see light through without tearing — congrats, you've achieved gluten! If it tears immediately, keep kneading and questioning your life choices.7 The final touch: Shape the dough into a smooth ball by tucking the edges underneath. It should feel soft, elastic, and slightly tacky — like a stress ball that has real potential. Now let it rest. You've both earned it. Notes: Signs you're doing it right: The dough becomes smooth, springs back when poked, and stops sticking to everything.Signs you're doing it wrong: The dough is a sticky swamp monster — add a little flour, one dusting at a time. Don't go overboard, or you'll bake a brick. The golden rule: When in doubt, knead more. Under-kneaded bread is dense and sad. Over-kneaded bread is also fine, honestly. The dough is more forgiving than it looks. There you go — kneading instructions with timers built in so you know exactly when your arms are allowed to stop. The windowpane test in step 6 is the real secret weapon; it's the only truly reliable way to know when you're done. Go
Type your paragraph here. How to Knead Dough: The ancient art of convincing flour it wants to be bread. Servings: 1. Ingredients: 1 ball of dough (already mixed), 2 tablespoons all-purpose flour (for dusting), 1 patience, 1 good music playlist. Steps: 1. Flour the surface: Lightly dust your work surface with 2 tablespoons of all-purpose flour (for dusting). Not a snowstorm — just enough so the dough doesn't propose marriage to your countertop. 2 Place & push: Put 1 ball of dough (already mixed) on the surface. Using the heel of your hand (not your palm, not your fist — your heel, like you're a very polite karate student), push the dough firmly away from you. 3. Fold it over: Fold the far edge of the dough back toward you, like you're closing a book you're only pretending to read. 4. Rotate 90°: Give the dough a quarter turn. This is important. The dough needs to feel like it's going places. You are its tour guide.5Repeat... a lot: Repeat steps 2–4 for about 8–8 minutes 08:00. Yes, minutes. Your arms will complain. Ignore them. Use 1 good music playlist to make the time go faster. Think of it as a workout you get to eat.6The windowpane test: Tear off a small piece and gently stretch it between your fingers. If it stretches thin enough to see light through without tearing — congrats, you've achieved gluten! If it tears immediately, keep kneading and questioning your life choices.7The final touch: Shape the dough into a smooth ball by tucking the edges underneath. It should feel soft, elastic, and slightly tacky — like a stress ball that has real potential. Now let it rest. You've both earned it. Notes: Signs you're doing it right: The dough becomes smooth, springs back when poked, and stops sticking to everything.Signs you're doing it wrong: The dough is a sticky swamp monster — add a little flour, one dusting at a time. Don't go overboard, or you'll bake a brick. The golden rule: When in doubt, knead more. Under-kneaded bread is dense and sad. Over-kneaded bread is also fine, honestly. The dough is more forgiving than it looks. There you go — kneading instructions with timers built in so you know exactly when your arms are allowed to stop. The windowpane test in step 6 is the real secret weapon; it's the only truly reliable way to know when you're done. Good luck!